
 In this article we will learn how to implement Token Based Authentication in Web API to secure the Web API. Please follow the previous article of
 In this article we will cover below parts
>> Why Token Based Authentication used in Web API ?
>> How token-based authentication will work ?
>> Advantages of using Token Based Authentication.
>> Implement the token based authentication and test it using Postman.
Web API is enables to provide HTTP based services on top of the .NET framework. The Web API is consumed a broad range of client such as Browsers, Mobile applications, Desktop applications etc.
As the Web API is provide to such a broad range of clients then it need to be more secure.
The most preferred approach nowadays to secure the Web API resources is by authenticating the users in Web API server by using the signed token (which contains enough information to identify a particular user) which needs to be sent to the server by the client with each and every request. This is called the Token-Based Authentication approach.
How token-based authentication will work ?

- User enters the name and password into the client (client means the browser or mobile devices etc).
- The client then sends these credentials (i.e. username and password) to the Authorization Server.
- Authorization Server authenticates the client credentials (i.e. username and password) and then it generates and returns an access token. This Access Token contains enough information to identify a user and also contains the token expiry time
- The client application then includes the Access Token in the Authorization header of the HTTP request to access the restricted resources from the Resource Server until the token is expired.
Scalability of Servers:
The token which is sent to the server by the client is self-contained means it holds enough data to identify the user needed for authentication. As a result, you can add easily more servers to your web farm, there is no dependent on shared session stores.
Loosely Coupling:
The client application is not tied or coupled with any specific authentication mechanism. The token is generated, validated and perform the authentication are done by the server only.
Mobile-Friendly:
The Cookies and browsers like each other, but handling the cookies on native platforms like Android, iOS, Windows Phone is not an easy task. The token-based approach simplifies this a lot.
Implement token based authentication ?
Let's create a application using ASP .NET Web API with SQL server database and Entity framework.
Step-1
Let's create a table of User Master with their respective roles. The DB script would be like this
CREATE TABLE UserMaster
(
  UserID        INT PRIMARY KEY,
  UserName      VARCHAR(50),
  UserPassword  VARCHAR(50),
  UserRoles     VARCHAR(100),
  UserEmailID   VARCHAR(100),
)
GO
INSERT INTO UserMaster VALUES(1, 'John', 'john@345', 'Admin', 'john@hotmail.com')
INSERT INTO UserMaster VALUES(2, 'Smith', 'smITh#543', 'Admin, User', 'smith.yahoo.com')
INSERT INTO UserMaster VALUES(3, 'Rhonda', 'rhONDa$21', 'SuperAdmin', 'rhonda@gmail.com')
INSERT INTO UserMaster VALUES(4, 'Lori', 'lori$64', 'User', 'lori@ymail.com')
 |
| Create Web API application with select template as Empty |
Install the below packages using Nuget.
- Microsoft.Owin.Host.SystemWeb
- Microsoft.Owin.Security.OAuth
- Microsoft.Owin.Cors
- Newtonsoft.json
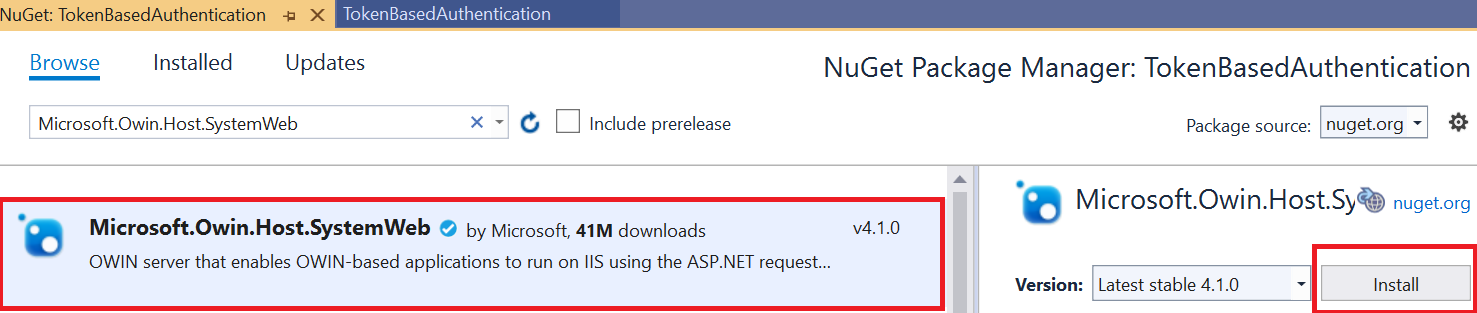 |
| Like this, install all the above packages |
Step-4
Add the Entity Framework of DB approach to access the UserMaster table inside Models folder. If you are new to Entity framework then please follow the link how to create database first approach in entity framework. After adding the Database it look like below;
 Step-5
Add a repository class named as UserMasterRepository which will validate the user and also returns the user information.
Add the Entity Framework of DB approach to access the UserMaster table inside Models folder. If you are new to Entity framework then please follow the link how to create database first approach in entity framework. After adding the Database it look like below;

Add a repository class named as UserMasterRepository which will validate the user and also returns the user information.
 namespace TokenBasedAuthentication.Models
 {
   public class UserMasterRepository
   {
     // This was our context class name
     CoreProgrammEntities context = new CoreProgrammEntities();
     //This method is used to check and validate the user credentials
     public UserMaster ValidateUser(string username, string password)
     {
       return context.UserMasters.FirstOrDefault(user =>
       user.UserName.Equals(username, StringComparison.OrdinalIgnoreCase)
       && user.UserPassword == password);
     }
   }
 }
Code Explanation
Step-6- CoreProgrammEntities is the entity data model that fetch the record of user information.
- ValidateUser method is used for to validate the user name and password.
Add the AuthorizationServerProvider class that validate the user credentials with token
using Microsoft.Owin.Security.OAuth;
 using System.Security.Claims;
 using System.Threading.Tasks;
 namespace TokenBasedAuthentication.Models
 {
   public class AuthorizationServerProvider : OAuthAuthorizationServerProvider
   {
     UserMasterRepository _repo = new UserMasterRepository();
     public override async Task ValidateClientAuthentication(OAuthValidateClientAuthenticationContext context)
     {
       context.Validated();
     }
     public override async Task GrantResourceOwnerCredentials(OAuthGrantResourceOwnerCredentialsContext context)
     {
       var user = _repo.ValidateUser(context.UserName, context.Password);
       if (user == null)
       {
         context.SetError("invalid_access", "Username and Password is Incorrect");
         return;
       }
       var identity = new ClaimsIdentity(context.Options.AuthenticationType);
       identity.AddClaim(new Claim(ClaimTypes.Role, user.UserRoles));
       identity.AddClaim(new Claim(ClaimTypes.Name, user.UserName));
       identity.AddClaim(new Claim("UserEmail", user.UserEmailID));
       context.Validated(identity);
     }
   }
 }
- The ValidateClientAuthentication method is used for validating the client application.
- GrantResourceOwnerCredentials method is used to validate the client credentials. If it found the credentials are valid, then only it generates the access token. The client then using this access token can access the authorized resources from the Resource Server.
- After creation of ClaimsIdentity class we need to pass the authentication type. Here Authentication Type is bearer token.
- For signed access token we need to add claims such as Role, Name, and Email, etc. You can add any number of claims and once you add more claims then the token size will increase.
Add the OWINStartup class where we will configure the OAuth Authorization Server.

[assembly: OwinStartup(typeof(TokenBasedAuthentication.Startup))]
 namespace TokenBasedAuthentication
 {
   public class Startup
   {
       public void Configuration(IAppBuilder app)
       {
         // Enable CORS (cross origin resource sharing) for making request using browser from different domains
         app.UseCors(Microsoft.Owin.Cors.CorsOptions.AllowAll);
         OAuthAuthorizationServerOptions options = new OAuthAuthorizationServerOptions
         {
           AllowInsecureHttp = true,
           //The Path For generating the Toekn
           TokenEndpointPath = new PathString("/token"),
           //Setting the Token Expired Time (24 hours)
           AccessTokenExpireTimeSpan = TimeSpan.FromDays(1),
           //AuthorizationServerProvider class will validate the user credentials
           Provider = new AuthorizationServerProvider()
         };
         //Token Generations
         app.UseOAuthAuthorizationServer(options);
         app.UseOAuthBearerAuthentication(new OAuthBearerAuthenticationOptions());
         HttpConfiguration config = new HttpConfiguration();
         WebApiConfig.Register(config);
       }
     }
   }
- We have specified the expiry time for the access token as 24 hours. So if the user tried to use the same access token after 24 hours from the issue time, then this request will be rejected and HTTP status code 401 is returned.
- We have also specified the implementation on how to validate the client credentials for users asking for the access tokens in the custom class named AuthorizationServerProvider.
- UseOAuthAuthorizationServer which will add the authentication middleware to the pipeline.
Add a API controller named as Web API and the below method according to their roles.
public class UserController : ApiController
   {
     //This resource is For all types of role
     [Authorize(Roles = "SuperAdmin, Admin, User")]
     [HttpGet]
     [Route("api/user/allusers")]
     public IHttpActionResult GetAllUsers()
     {
       var identity = (ClaimsIdentity)User.Identity;
       return Ok("Hello: " + identity.Name);
     }
     //This resource is only For Admin and SuperAdmin role
     [Authorize(Roles = "SuperAdmin, Admin")]
     [HttpGet]
     [Route("api/user/adminusers")]
     public IHttpActionResult GetAdminUsers()
     {
       var identity = (ClaimsIdentity)User.Identity;
       var Email = identity.Claims
            .FirstOrDefault(c => c.Type == "Email").Value;
       var UserName = identity.Name;
       return Ok("Hello " + UserName + ", Your Email ID is :" + Email);
     }
     //This resource is only For SuperAdmin role
     [Authorize(Roles = "SuperAdmin")]
     [HttpGet]
     [Route("api/user/superadminuser")]
     public IHttpActionResult GetSuperAdminUser()
     {
       var identity = (ClaimsIdentity)User.Identity;
       var roles = identity.Claims
             .Where(c => c.Type == ClaimTypes.Role)
             .Select(c => c.Value);
       return Ok("Hello " + identity.Name + "Your Role(s) are: " + string.Join(",", roles.ToList()));
     }
   }
- api/user/allusers can accessed all the three roles of "SuperAdmin, Admin, User" and we use Route URL.
- api/user/adminusers can accessed all the three roles of "SuperAdmin, Admin".
- api/user/superadminuser can accessed all the three roles of "SuperAdmin".
We have done the token based authentication, let's test it using postman.
Test-1
 |
| You can see as we are not sending any token number so it show 401 unauthorized |
In the below image you can see when we input the wrong username and password, the output shows Invalid access.
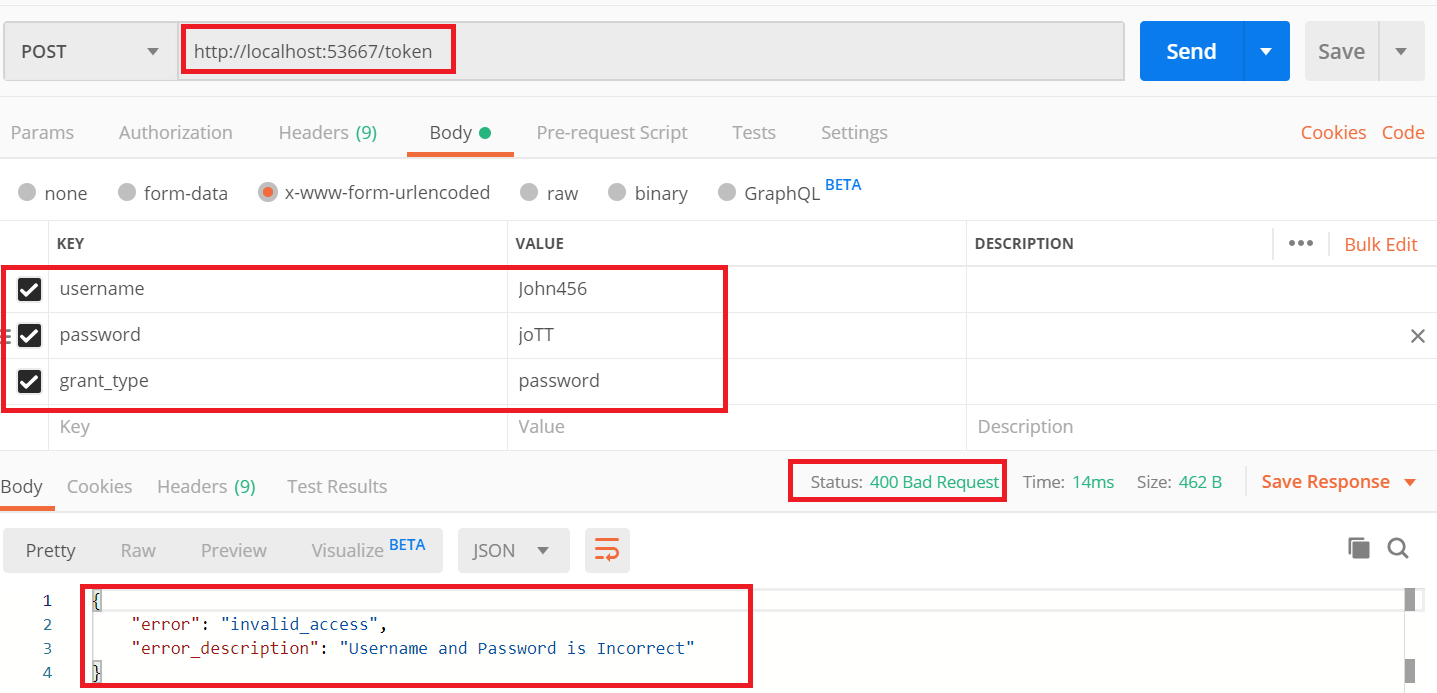
http://localhost:53667/token is responsible for create the token, If we put the correct username and password according to our database tables and then the token is generate. To use this token we validate our API

Copy the above token and add the token in Authorization tab as Bearer token and send the request, then you can see the request is validated and return the output.

To follow same rule as like Test-4 the output will fetch for admin users as well

</> Find Source Code in Github.com/CoreProgramm/Summary
Post a Comment